Generate 500 Branded QR Codes From One CSV — Without Wrecking Consistency
A step-by-step workflow for making bulk QR codes from CSV: lock one brand template, clean your spreadsheet, check before you generate, test before print, and automate repeat batches with an API.
Mike · · · 11 min read · 2,387 words
Why bulk runs drift off-brand
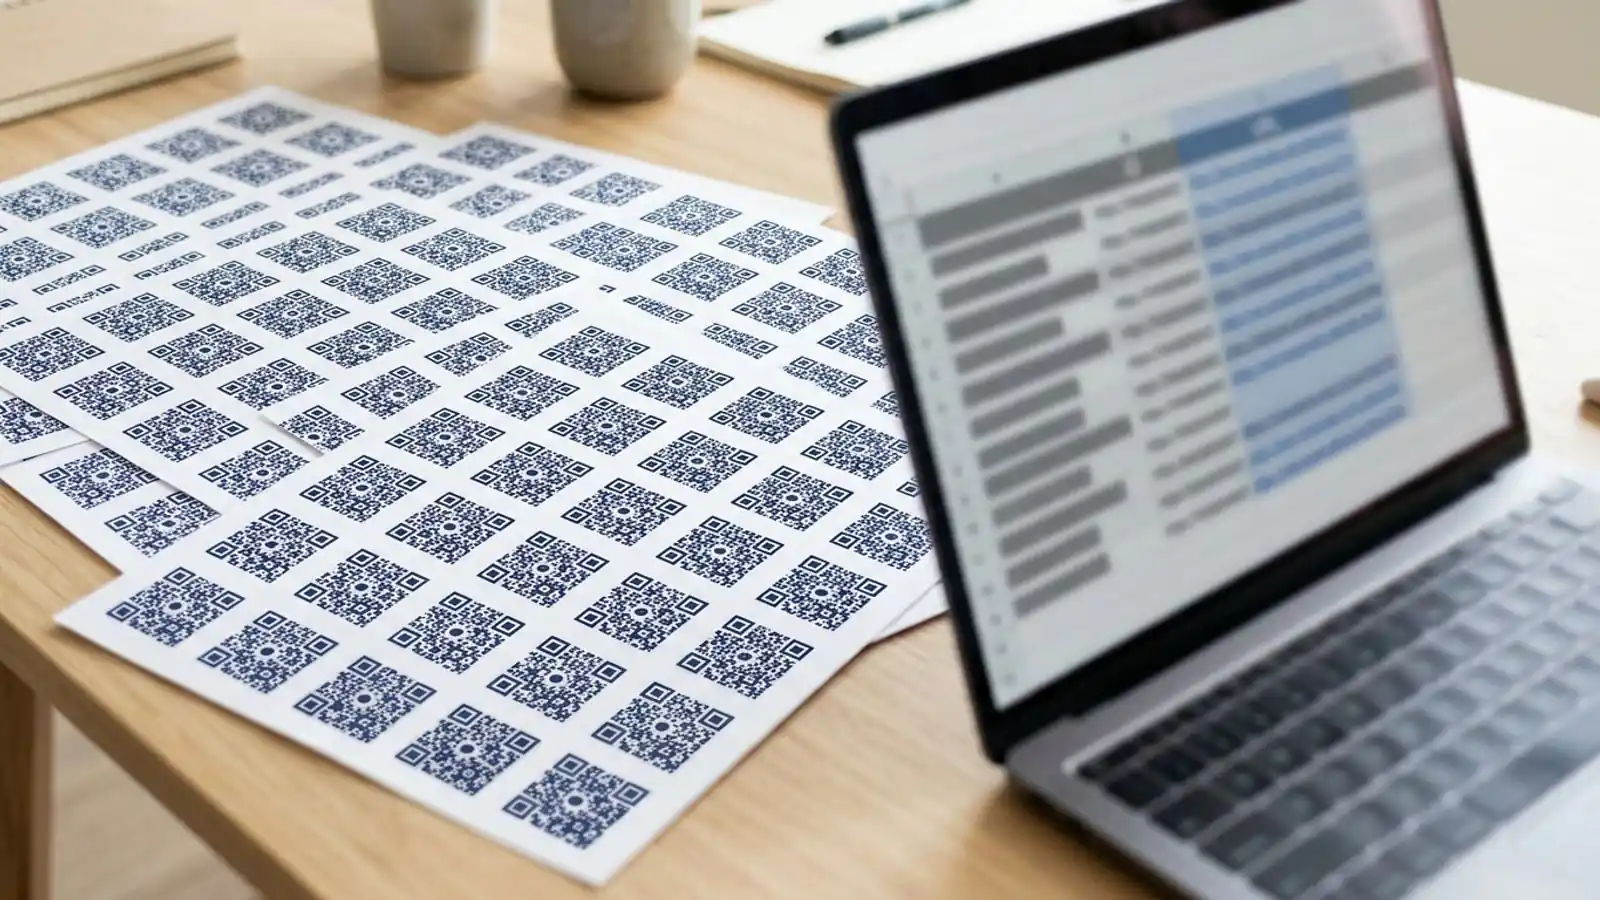
Making one branded QR code is easy. Making 500 is harder. The trouble isn't the generator. It's the small differences that pile up across a batch: a URL with a typo, one row that got a different color, an export at the wrong size, or a file name nobody can match to a store, product, or badge.
Making bulk QR codes from CSV fixes most of this, as long as you treat the CSV and the design template as fixed inputs. This guide walks through a workflow that keeps every code in a 500-row batch the same: same look, same scan behavior, same naming.
The workflow assumes you're on a plan with bulk CSV support. On Max QR that's the Business plan, which also includes custom domains, the developer API, and team workspaces. Plan features can change, so confirm current entitlements on the pricing page.
<!-- Editorial: verify Business-plan entitlements (bulk CSV, custom domains, developer API, team workspaces) against current Max QR pricing information before publication. -->
What you need before you start
- A finished brand template: foreground color, background color, logo file, and error correction level, all decided, tested, and approved before you touch the spreadsheet.
- A clean CSV: one row per code, with a stable unique ID.
- A decision on static vs. dynamic: this can affect how the codes look as well as how they behave (more on that below).
- A print spec from whoever is producing the material: final printed size, substrate, and file format.
- A test device plan: at least two phones, ideally one older Android and one recent iPhone, each with its built-in camera app.
Step 1: Lock the design template first
Consistency starts with deciding the design once and never per row. Before you build the CSV, settle these settings and write them down:
Colors and contrast
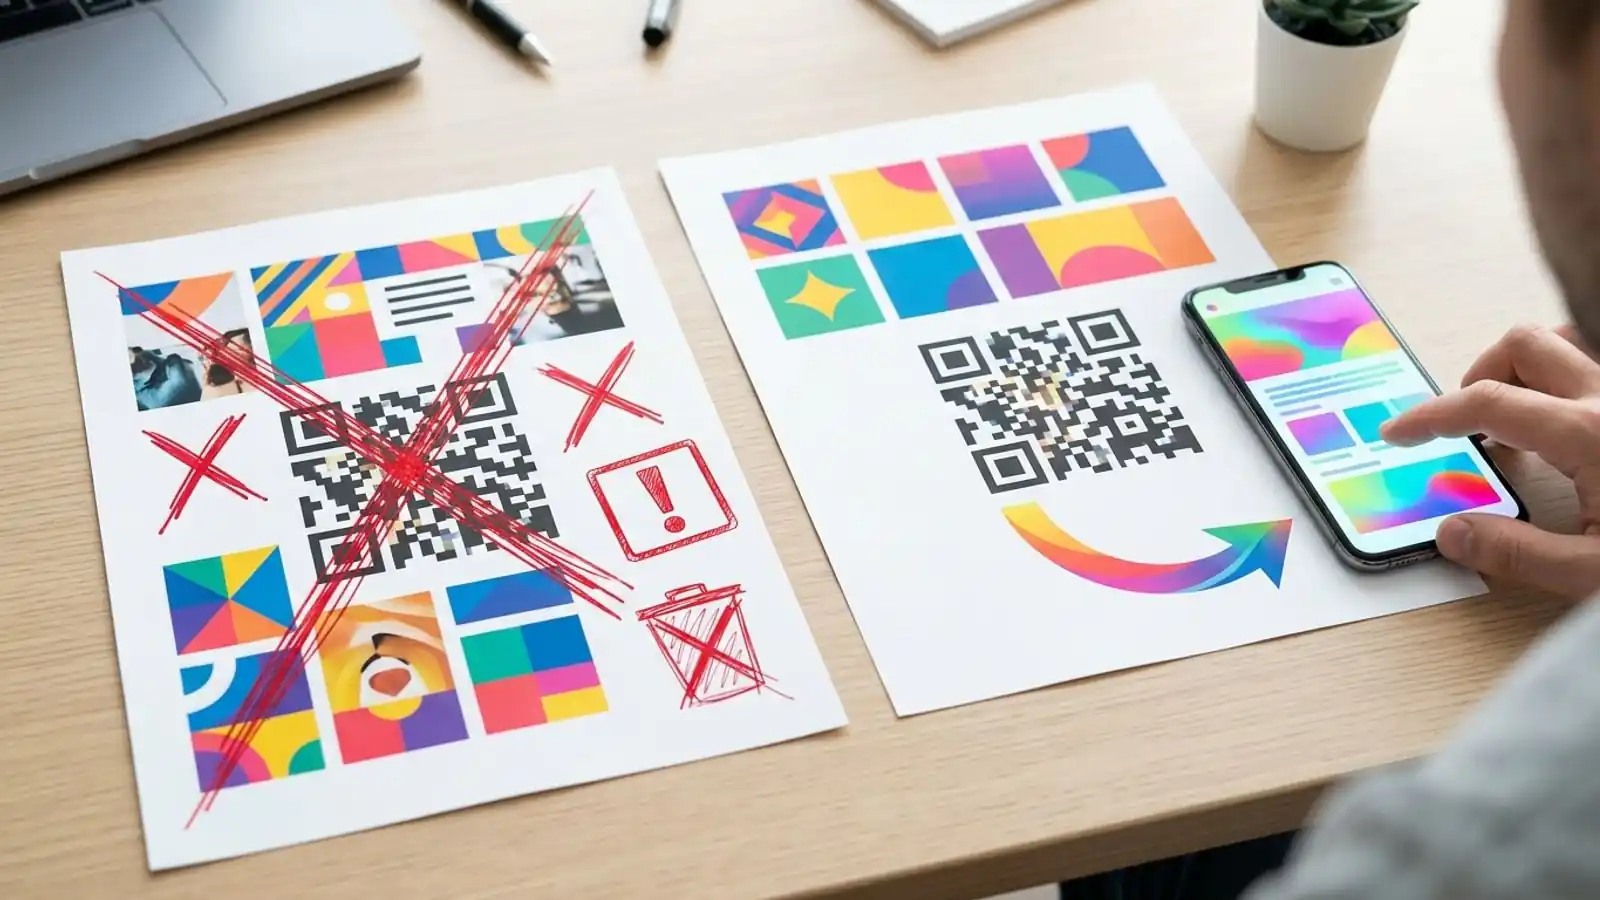
Use a dark foreground on a light background, and make sure there is strong luminance contrast between the two. Different hues alone don't guarantee enough contrast for a camera. A brand navy on white is fine, while a mid-gray on light gray, or a red on a green of similar brightness, is risky. Inverted codes (light on dark) work in many modern camera apps but are still less reliable across older readers as of 2026. Avoid them for a batch you can't easily reprint.
Logo and error correction
QR codes include Reed–Solomon error correction at four levels. They can recover roughly 7% (L), 15% (M), 25% (Q), and 30% (H) of the code's codewords. These percentages are approximate recovery capacity as a share of codewords, not a share of the code's visible area or modules. Codewords don't map neatly onto the area a logo covers, so you can't compare a logo's covered area directly with those figures. A center logo still uses up part of the recovery capacity on purpose. Practical guidance:
- Q or H is a common choice when you add a logo, but neither is automatically best. Higher error correction adds data, which can push the code to a higher version with more, smaller modules. At a given print size, that can make the code harder to scan. Try more than one level with your actual logo and pick the one that scans most reliably at your real print size.
- Keep the logo small and away from all functional patterns, not just the three corner finder patterns. That also means the timing patterns, alignment patterns, and the format and version information areas.
- Give the logo a solid background "pad" so it doesn't blend into nearby modules.
- Test the actual generated code with the logo in place. Don't rely on an area estimate.
Quiet zone
The QR specification (ISO/IEC 18004) calls for a quiet zone of four modules around the code. Designers often crop this to fit a layout. Don't. Build it into the template so every exported file has the same margin.
Step 2: Choose static or dynamic, because it can change how the codes look
This decision is easy to overlook, and it can matter for visual consistency.
A static QR code encodes the destination URL directly. Longer payloads can require a higher QR "version" with more, smaller modules. Not every increase in URL length changes the version, because each version holds a range of data. Across a wide spread of lengths, though, the version can change. In a 500-row batch where URLs range from example.com/a to a 140-character link full of tracking parameters, you will likely get codes with visibly different densities. At the same print size, the dense ones have smaller modules and are harder to scan.
A dynamic code encodes a short redirect link instead. If every row's short link is similar in length (same domain, same slug length), the codes will come out at a similar density. A dynamic code doesn't guarantee uniform density on its own. Short links of different lengths can still land on different versions, so check your batch. You also get:
- Editable destinations: fix a wrong URL after printing without reprinting.
- Scan analytics per code, so you can see which locations or SKUs are actually used.
- With a custom domain, the short link carries your brand instead of a generic one.
| Situation | Better fit | Why |
|---|---|---|
| Destinations will never change (e.g., a fixed product manual URL) | Static | No redirect dependency |
| URLs vary a lot in length | Dynamic | More uniform density, if the encoded short links are similar in length |
| Printed material lives for months or years | Dynamic | You can change destinations without reprinting |
| You need per-location or per-item scan data | Dynamic | Analytics per code |
| Offline or air-gapped use | Static | Decodes without a redirect service; the encoded content and any resource it needs must also be available offline |
A note on offline use: a phone can decode a static code's encoded URL without any redirect service. Opening that URL still requires connectivity. For truly air-gapped use, the encoded content itself (for example, plain text) and any resource it points to must be available without a network connection.
For most branded batches of hundreds of codes going onto physical media, dynamic is the safer default.
Step 3: Build the CSV
Your CSV is the single source of truth. Treat it like code. Check the docs for the exact column names and format Max QR expects. The structure below is a sound working model for your own source sheet:
| Column | Purpose | Example |
|---|---|---|
id |
Stable unique key; never reused | STORE-0142 |
name |
Human-readable label for the dashboard | Downtown Store – Window Decal |
url |
Full destination, including https:// |
https://example.com/stores/0142 |
campaign |
Optional grouping for analytics | spring-window-2026 |
filename |
Export name that matches the print file | store-0142-window |
CSV hygiene rules
Most bulk failures come from the spreadsheet, not the generator:
- Save as UTF-8. Non-UTF-8 exports can corrupt accented characters in names and URLs.
- Protect leading zeros. Spreadsheet apps often turn
00142into142. Format ID columns as text, or add a prefix likeSTORE-. - Quote fields that contain commas. A name like
Austin, TXbreaks the column layout if it isn't quoted. - Remove smart quotes and trailing spaces. Invisible characters inside URLs cause broken redirects.
- Use absolute URLs.
example.com/pageis not the same ashttps://example.com/page. - No duplicate IDs. Sort by the ID column and scan for repeats, or use a conditional-format duplicate check.
- Keep UTM parameters consistent. Pick one convention (lowercase, hyphens) and apply it to every row.
Step 4: Check everything before you generate
Don't generate 500 codes to find out row 317 is broken. Run this checklist first.
Pre-generation checklist
- [ ] Every row has a non-empty
id,url, andfilename - [ ] All IDs and filenames are unique
- [ ] All URLs start with
https:// - [ ] A sample of 10–20 URLs opened in a browser and loaded the right page
- [ ] No URL points to a staging or localhost domain
- [ ] File is saved as UTF-8 CSV, not
.xlsx - [ ] Design template (colors, logo, error correction, quiet zone) is approved and saved
- [ ] Static vs. dynamic decision is documented
- [ ] Print size and file format confirmed with the printer
For large batches, a short script that requests every URL is worth the 15 minutes it takes to write. Have it follow redirects and check the final destination and its response against what you expect. Don't flag every non-200 response as a failure, because a valid destination may redirect or return another expected status. Flag rows where the final URL is wrong or the response isn't what you expected (for example, a 404 or a server error).
Step 5: Run a small batch, then the full one
Upload a 10-row slice of the CSV first. Include your edge cases on purpose: the longest name, a row with a comma, a URL with query parameters, an ID with leading zeros.
Check:
- Did every row produce a code?
- Do names and filenames match the source exactly?
- Does each code scan to the right destination?
- Do the codes look consistent in density and layout? If they don't, check whether the encoded URLs vary in length.
Once the slice passes, run the full file in your dashboard. Because the template is fixed and the data is already checked, the full run should be uneventful. That's the goal.
Step 6: Export in the right format
| Use case | Format | Notes |
|---|---|---|
| Professional print (signage, packaging, labels) | SVG | Vector; scales to any size without blurring |
| Web, email, slides | PNG | Export at a size that matches or exceeds display size |
| Print shop that needs raster | PNG at high resolution | Confirm target size and resolution with the printer |
Name exported files by your filename column, never by sequence number. store-0142-window.svg can be traced back to its row. qr_317.svg can't.
Step 7: Proof-print and scan test
Screens hide problems that paper shows. Before signing off a print run:
- Print at final size on the real substrate, or as close to it as you can. Glossy laminates, curved bottles, and textured card all behave differently.
- Check minimum size. A common rule of thumb is about 2 cm (0.8 in) for close-range scans. For distance scanning, plan roughly a 10:1 ratio of scan distance to code width. Treat both as starting points, not guarantees, and test. Denser codes, including those with higher error correction, may need more size.
- Scan under real lighting: store fluorescents, outdoor glare, dim event halls.
- Test a spread of codes, not just the first one. Pick rows from the start, middle, and end of the batch.
- Check the quiet zone survived layout. Designers placing codes in templates sometimes crop it or put text right up against it.
Automating repeat batches with the API
A CSV upload works well for a one-off batch: a store rollout, an event badge run, a seasonal packaging refresh. If you regenerate codes every week, or codes need to be created when a new product or location appears in another system, use the developer API (included on Business; confirm current plan details on the pricing page).
With the API, your system of record (a PIM, CMS, or inventory database) creates codes directly using the same template settings. That removes the export-to-spreadsheet step, which is where many consistency problems start. See the docs for endpoints and authentication.
CSV upload vs. API: decision table
| Factor | CSV upload | API |
|---|---|---|
| Batch frequency | Occasional, planned runs | Recurring or event-driven |
| Who runs it | Marketing / ops team | Engineering / integration |
| Source of data | Spreadsheet export | Live system of record |
| Setup effort | Minutes | A small integration project |
| Risk of manual error | Moderate (spreadsheet handling) | Lower once built and tested |
| Best for | Rollouts, events, one-off campaigns | Product catalogs, SaaS platforms, continuous onboarding |
If you're building a platform that creates QR codes for your own customers under your brand, Max QR's white label option uses prepaid credits with your own branding, UI, pricing, and a private API key. It's arranged through sales rather than a standard subscription. Pricing and credit terms can change, so confirm current details with sales.
<!-- Editorial: verify white-label pricing model, prepaid credit terms, and included features against current Max QR pricing information before publication. -->
Common failure modes (and fixes)
- Mixed densities across the batch: encoded URL lengths vary enough to change the QR version. Shorten the destinations, or switch to dynamic codes with short links of similar length.
- Codes scan on one phone but not another: usually low luminance contrast, a logo that's too large or overlaps functional patterns, a cropped quiet zone, or a code too dense for its print size. Fix the template and retest at final size. Changing the error correction level can help, but higher levels also add density, so test the result.
- Wrong destination on a few codes: the spreadsheet rows were re-sorted without the ID column. Always sort whole rows and keep
idas the anchor. - Lost track of which file goes where: sequence-number filenames. Generate filenames from IDs.
- Batch printed before a URL changed: with static codes this means reprinting. With dynamic codes, update the destination in the dashboard.
- Team members using slightly different templates: use a shared team workspace so everyone generates from the same saved settings.
Quick recap
- Approve one design template: strong luminance contrast, a logo clear of all functional patterns, an error correction level tested at your print size, and a four-module quiet zone.
- Pick dynamic for destinations you can change later, and keep short links similar in length for consistent density, unless you truly need static.
- Build a clean UTF-8 CSV with stable unique IDs.
- Check URLs and fields before generating, following redirects to the final destination.
- Run a 10-row slice, then the full batch.
- Export SVG for print and PNG for screens, named by ID.
- Proof-print at final size and scan a spread of codes.
- Move recurring batches to the API.
Try it on Max QR
- Compare plans and see what Business includes on the pricing page.
- Upload your first CSV slice in the dashboard.
- Read the CSV format and API reference in the docs.
- New here? Create an account, or browse more guides on the blog.
Try it on your campaign
Design a QR code in the browser — the same workflow we write about.