Marketplace Founders: Add Branded QR Without Becoming a QR Company
A workflow for marketplace founders who need branded QR for tickets, listings, and seller kits, using white label infrastructure and prepaid credits instead of building a QR stack.
Mike · · · 10 min read · 2,040 words
Your sellers want QR codes. You don't want to run a QR company.
If you run a marketplace, someone has already asked for QR codes. An event organizer wants scannable tickets. A furniture seller wants a code on a showroom tag that opens the listing. A food vendor wants a printed kit with a code that leads to their storefront on your platform.
The request sounds small, but it isn't. Behind every "just add a QR code" ticket sits a redirect service, a short-link domain, scan analytics, image rendering in several formats, abuse handling, and uptime work that never ends. That's a whole product, and it isn't the one you set out to build.
This guide covers a practical route: put a white label QR for marketplace setup inside your product so sellers see your brand, your UI, and your pricing, while the QR infrastructure runs somewhere else.
What "white label" means in this context
People use "white label" loosely, so here is what it means for this workflow.
- Your brand on the surface. Sellers and buyers see your marketplace's name, styling, and domain. They never see a third-party QR vendor.
- Your pricing to your sellers. You decide whether QR is free, bundled into a seller tier, or sold as an add-on. The infrastructure cost is yours to manage, not your sellers'.
- A private API key. Your backend calls the QR service directly. Sellers never get credentials or sign up anywhere else.
- Usage-based cost, not seat-based. On Max QR, white label runs on prepaid credits, not a monthly subscription. More on that below, since it changes the economics for platforms.
What white label does not mean: your QR provider doesn't take over your ticket validation, your inventory logic, or your seller onboarding. Those stay in your system. The QR layer creates, hosts, and redirects codes and reports scans. Your platform decides what a scan means.
Where marketplace QR codes actually show up
Before you write any integration code, list your surfaces. Most marketplaces end up with three groups.
Tickets and bookings
Event, experience, and appointment marketplaces put a code on every confirmation. Two patterns are common:
- Identifier codes. The code carries a ticket or booking ID that your check-in app reads. A static code works, because the payload never needs to change.
- Link codes. The code opens a booking page, venue info, or a digital ticket wallet. A dynamic code is the safer pick here, because venues, times, and URLs change after the ticket has been sent.
Listings
Physical goods, real estate, rentals, and vehicle marketplaces have a gap between the real world and the listing. A code on a window sign, a showroom tag, or a yard sign closes that gap. Listings get edited, sold, relisted, and expired, so these codes should almost always be dynamic. When the item sells, you point the code at the seller's storefront or similar listings instead of a dead page.
Seller kits
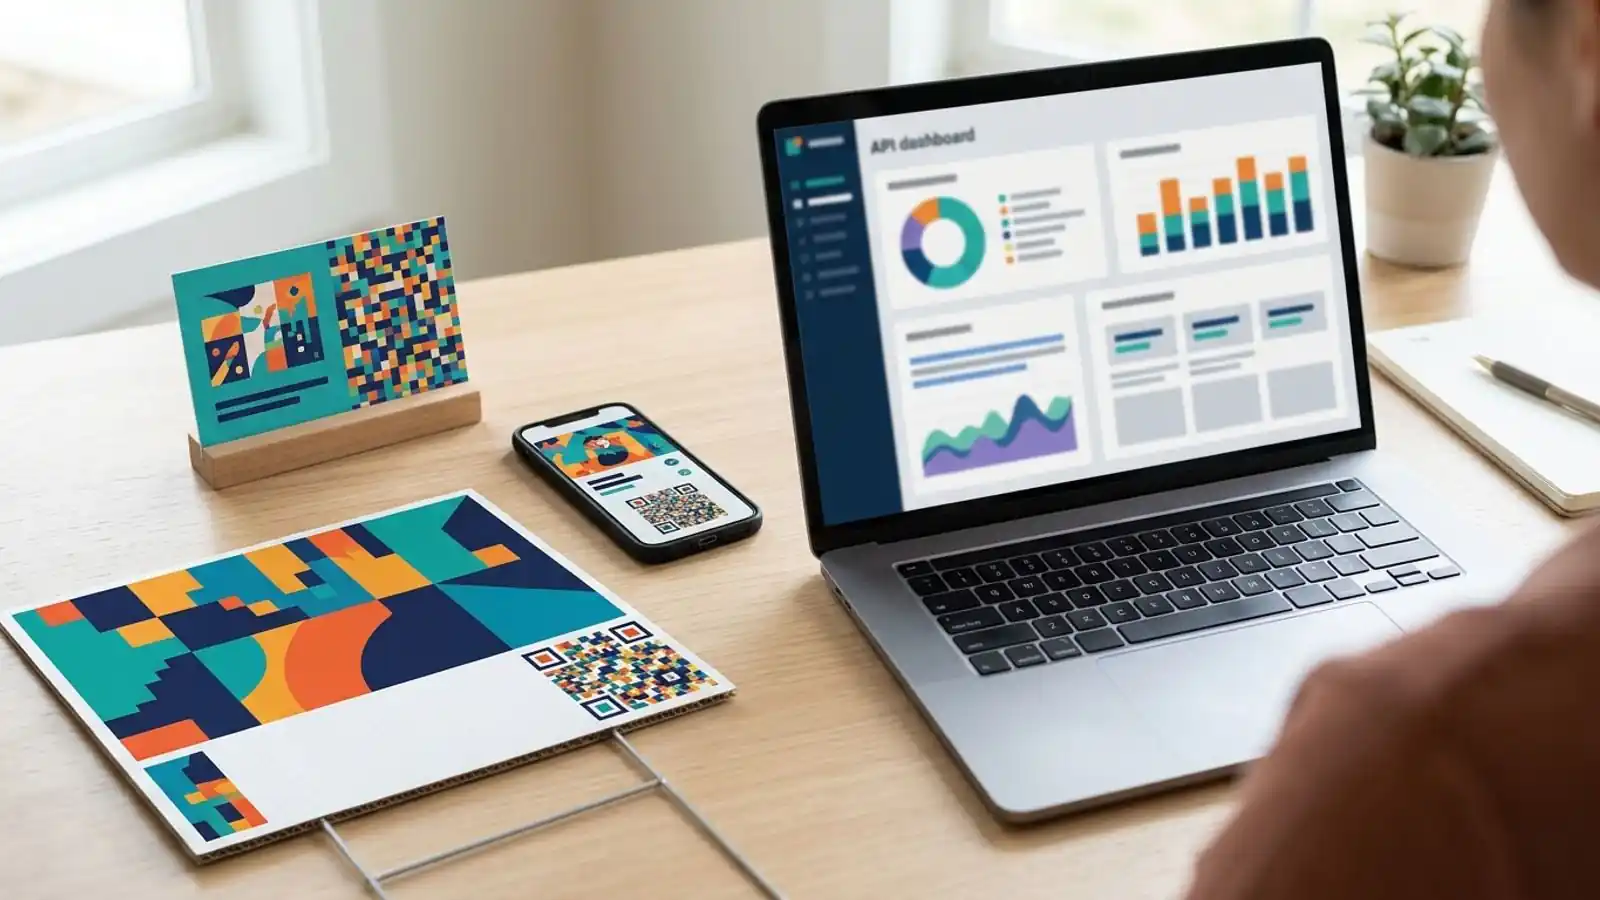
This is where marketplace QR codes pay off in volume. When a seller onboards, you generate a printable kit: a counter card, a sticker, a packaging insert, a flyer. Each one carries a branded code that leads to that seller's page on your marketplace. Each code also gives you, and optionally the seller, scan data showing which offline channels work.
Build vs. buy: a decision table
Many founders try to build this in-house first. Here is an honest look at the trade-offs.
| Concern | Build in-house | Business plan (self-serve) | White label (prepaid credits) |
|---|---|---|---|
| Brand visible to sellers | Yours | Custom domains available | Your brand, UI, and pricing |
| Who resells QR to sellers | You, after building billing | Not designed for resale | Designed for it |
| Pricing model | Your infra + engineering time | ~$49/mo or ~$39/mo yearly | Prepaid credits, burn as you go |
| Developer API | You build and maintain it | Included | Private API key |
| Bulk generation | You build it | Bulk CSV | Via API |
| Redirect uptime and analytics | Your on-call rotation | Handled | Handled |
| Time to first seller kit | Weeks to months | Days | Days, after provisioning |
As a rough rule: if QR is an internal tool for your own team's marketing, the Business plan is usually enough. If QR is a feature you offer to sellers under your own brand, white label fits better.
Workflow: embedding white label QR in your marketplace
Step 1: Classify every surface as static or dynamic
Go through your surface list and tag each one.
- Static: the payload never changes (ticket IDs, fixed reference codes). When a static code encodes the final payload directly, it needs no redirect service and costs nothing to keep alive. If a static code encodes a hosted short link, it still depends on that link's service. The encoded payload doesn't expire by itself, but the code can still become unreadable if the print is damaged, and a URL payload can lead to a stale or unavailable destination. Static codes also can't be retargeted after printing.
- Dynamic: the destination might change (listings, storefronts, event pages, promo landing pages). These go through a redirect, so you can edit the destination after printing and count scans.
This step drives your credit planning, so be strict. Don't make everything dynamic out of habit.
Step 2: Estimate credit burn before you talk to sales
White label credits burn as you go. Before your provisioning call, gather:
- Expected monthly new sellers (each gets a kit)
- Codes per kit
- Monthly listings that get a physical code
- Monthly tickets or bookings that carry a link code
- Expected growth over the next 12 months
You don't need exact numbers. Ranges are fine. The goal is to size your first purchase and know roughly when you'll need a top-up. Ask during provisioning exactly how different operations draw on credits, so you can model it correctly rather than guess.
Step 3: Get provisioned through /contact
White label on Max QR is sales-provisioned rather than a checkout button. The commercial terms are short:
- First purchase: $70 in prepaid credits. That's enough to integrate, test, and run a pilot with real sellers.
- Later top-ups start at $500.
- Unused credits stay valid for 12 months.
- When the balance hits zero, processing stops. There's no surprise overage invoice, but you do need to watch your balance (see Step 7).
During provisioning you receive a private API key and set up your branding. Your marketplace's identity is what sellers and buyers see.
Step 4: Wire QR creation into platform events
This is the step where you embed QR API in marketplace flows. Don't add a "generate QR" button sellers have to remember. Tie creation to events that already happen:
seller.onboarded→ generate the seller kit codeslisting.published→ generate a dynamic listing codelisting.soldorlisting.expired→ update the destination; don't delete the codebooking.confirmed→ generate the ticket or booking codeevent.rescheduled→ update the destinations of affected link codes
Store the returned code identifiers next to your own records (seller ID, listing ID, booking ID). That mapping is what lets you edit destinations later and connect scan data to business outcomes. See the docs for request formats and authentication.
Step 5: Render for the medium
Sellers will print your codes on everything from thermal receipt paper to vinyl banners. Return the right format for each:
- SVG for print kits. It's vector, so it scales to any size without blur.
- PNG for email confirmations, in-app display, and quick previews.
Keep your brand styling, but treat scannability as non-negotiable (next section).
Step 6: Bake print realities into your templates
Sellers will not read a QR style guide. Your templates have to enforce the basics for them. These are long-standing QR and print conventions, not Max QR-specific rules:
- Quiet zone. Keep a clear margin around the code. The QR specification calls for four modules of empty space. Design templates often crop this first, so lock it in.
- Contrast. Use dark modules on a light background. Inverted or low-contrast brand colors fail on some scanner apps and in poor lighting.
- Size for distance. A common rule of thumb is a scanning distance of about 10 times the code's width. A counter card can be small. A yard sign seen from the sidewalk can't.
- Error correction with logos. QR codes have four error correction levels: L, M, Q, and H. They can recover approximately 7%, 15%, 25%, and 30% of codewords, respectively. If you place a logo in the center, use a higher level and keep the logo modest. Higher correction doesn't guarantee that a code with a logo will scan, so keep the logo away from the finder patterns and other functional patterns, and test the printed result.
- Short destinations. Pattern density depends on the length of the encoded URL and the QR version, and a dynamic code isn't short by default. When the service uses a short redirect URL, a dynamic code encodes that short URL, which keeps the pattern less dense and easier to scan at small sizes. If your provider issues short redirect URLs, that's one more reason listings should be dynamic.
- Test on real phones. As of 2026, most phone cameras scan QR codes natively, but print a proof of every new template and scan it with several devices before rolling it out.
Step 7: Monitor balance like any other dependency
Processing stops at an empty balance, so treat credits like an API quota:
- Alert internally when the balance drops below a threshold that covers your top-up lead time.
- Review burn monthly against your Step 2 estimates.
- Remember the 12-month validity window when you size top-ups. Don't buy far beyond a year's projected use.
How prepaid credits fit marketplace economics
Seat-based SaaS pricing works poorly for platforms. Your QR usage follows seller growth and seasonal spikes, not headcount. Prepaid credits match that pattern:
- You start small. $70 covers integration and a pilot, with no annual commitment for a feature you haven't validated yet.
- Cost scales with activity. Quiet months burn fewer credits.
- You control the resale margin. Because you set your own pricing to sellers, you can bundle QR into a premium seller tier, charge per kit, or give it away to drive adoption. The credit cost becomes an input to your pricing, and sellers never see it.
That's the core of a branded QR white label SaaS model: the infrastructure bill stays on your side, and the feature carries your brand.
Launch checklist
Use this before you turn the feature on for all sellers:
- [ ] Every QR surface is classified as static or dynamic
- [ ] Credit burn estimate covers at least the first 3 months
- [ ] Provisioning done via /contact; private API key stored in your secrets manager, never in client code
- [ ] Code IDs stored next to seller, listing, and booking records
- [ ] Sold or expired listings redirect somewhere useful, never to a 404
- [ ] Print templates enforce quiet zone, contrast, and minimum size
- [ ] Logo placement tested with higher error correction
- [ ] Proofs scanned on several phones and in different lighting
- [ ] Low-balance alert configured with lead time for a top-up
- [ ] Seller-facing pricing decided (bundled, add-on, or free)
- [ ] Pilot group of sellers chosen before full rollout
Common mistakes to avoid
- Making everything dynamic. Ticket IDs that never change don't need a redirect.
- Deleting codes when listings end. The printed sign is still out there. Redirect it instead.
- Letting sellers restyle freely. Brand flexibility is fine. Removing the quiet zone isn't.
- Skipping the pilot. The $70 first purchase exists so you can test with real sellers before committing to $500 top-ups.
- Using white label for internal marketing. If only your team uses QR, look at the Business plan instead.
Try it on Max QR
If QR codes are becoming a seller-facing feature on your platform, white label is the right starting point:
- Review white label terms: Pricing: White label
- Get provisioned with your brand, UI, pricing, and private API key: Contact sales
- Read the integration docs first: Docs
- Just testing static codes? The free generator needs no account.
Start with the $70 pilot, connect it to one seller event, and expand once the scans show it's worth it.
Try it on your campaign
Design a QR code in the browser — the same workflow we write about.